Categories
Baking

Sausage Rolls with Chorizo or Nduja

Ingredients

500g sausage meat

100g chorizo (finely chopped) or 100g nduja (soft, spreadable sausage)

1 small onion (finely chopped)

1 tbsp smoked paprika (optional)

320g ready rolled puffed pastry

1 egg yolk (for glazing)

Salt and pepper

Sesame seeds (optional)

Step-by-step Instructions

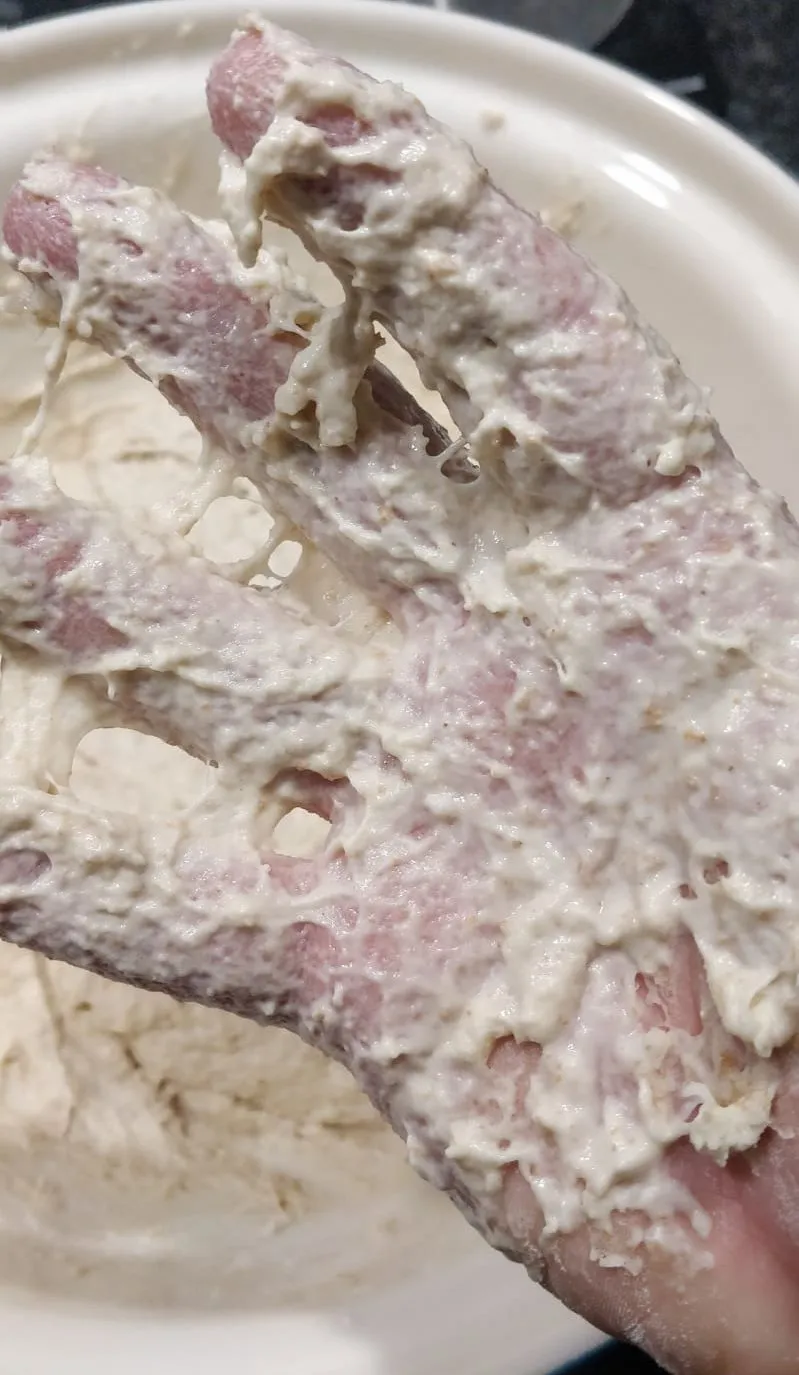
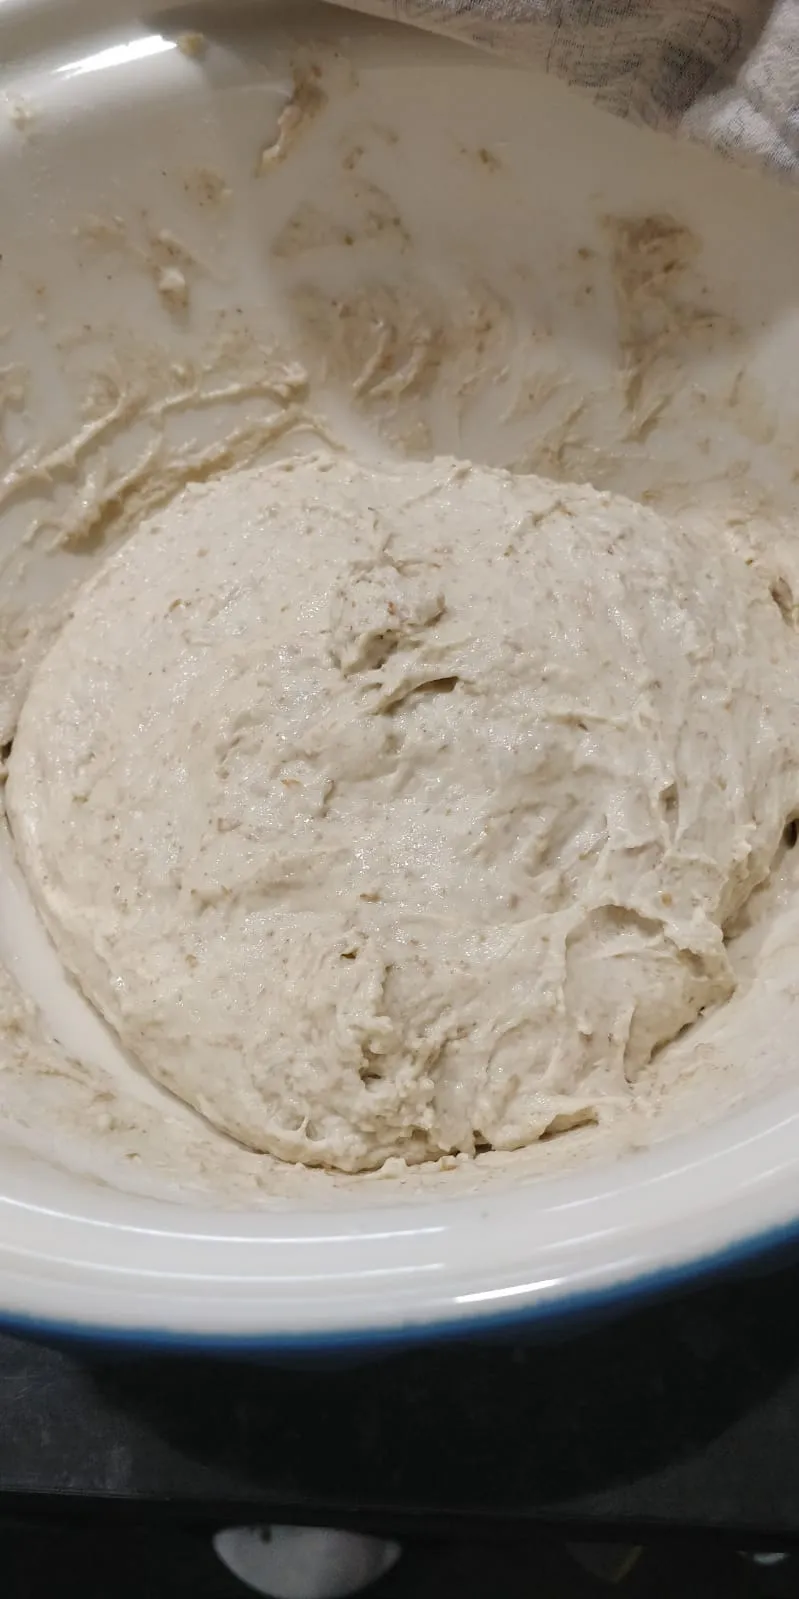
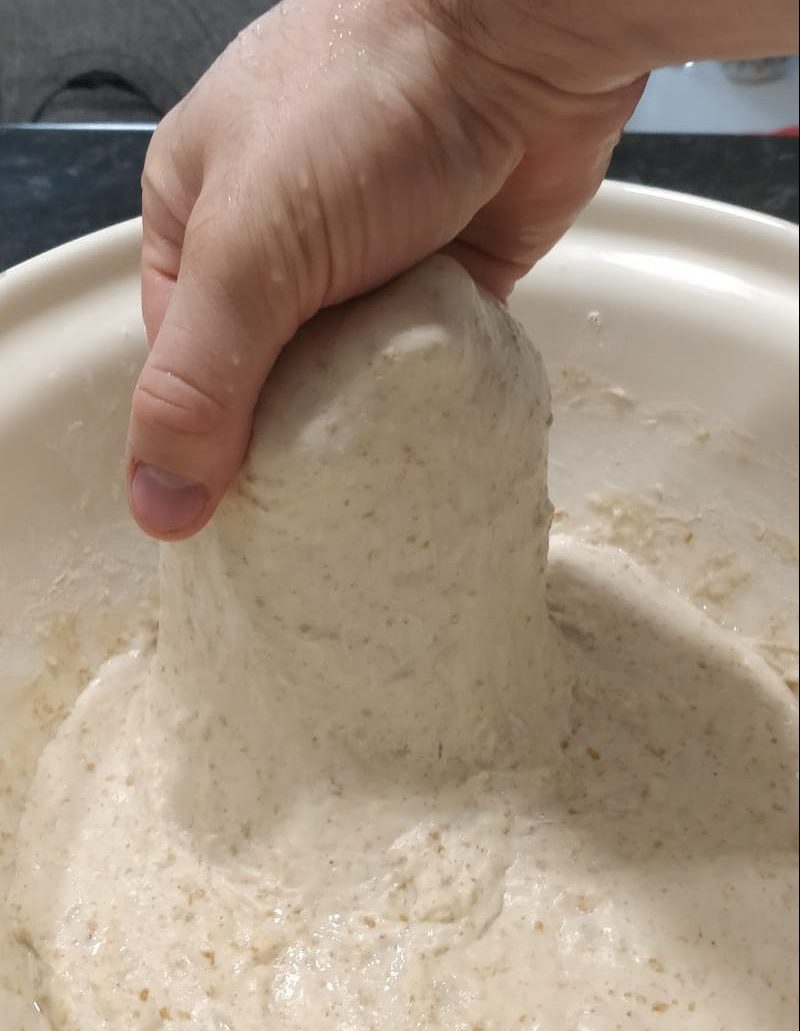
1. Prepare the Filling:

  • In a mixing bowl, combine the 500g sausage meat with the finely chopped chorizo or nduja.
  • Add the onion, smoked paprika (if using), and season with salt and pepper to taste.
  • Mix everything together thoroughly until well combined.

2. Prepare the Puff Pastry:

  • Preheat your oven to 200°C (400°F) and line a baking tray with parchment paper.
  • Unroll the 320g puff pastry sheet onto a lightly floured surface. If it’s not pre-rolled, roll it out to about 3-4mm thick.
  • Cut the pastry sheet lengthwise into two equal strips.

3. Assemble the Sausage Rolls:

  • Divide the sausage mixture in half and shape it into two long sausages, placing each along the centre of one of the pastry strips.
  • Fold the pastry over the sausage meat, pressing the edges together to seal. You can crimp the edges with a fork or pinch them together for a decorative finish.
  • Cut each long roll into smaller sausage rolls (around 6-8 pieces per strip, depending on size preference).

4. Glaze and Bake:

  • Place the sausage rolls seam-side down on the prepared baking tray.
  • Brush the tops with the beaten egg to give them a glossy finish.
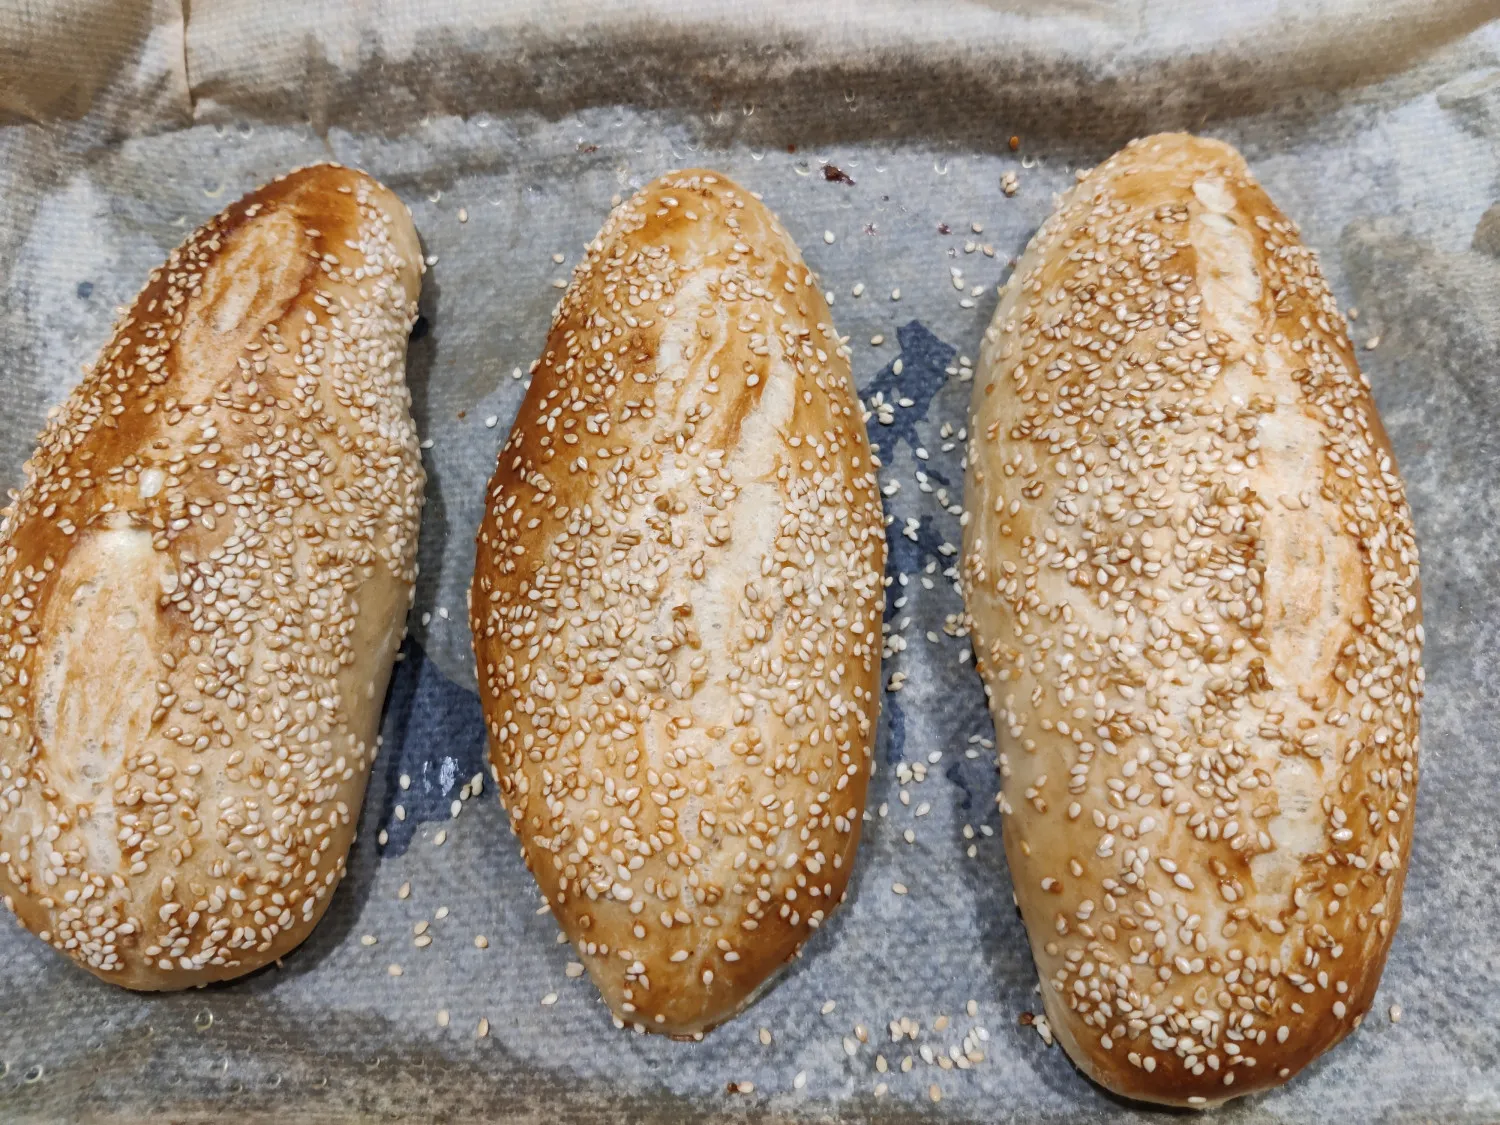
  • For added crunch and flavour, sprinkle with sesame seeds or poppy seeds (optional).
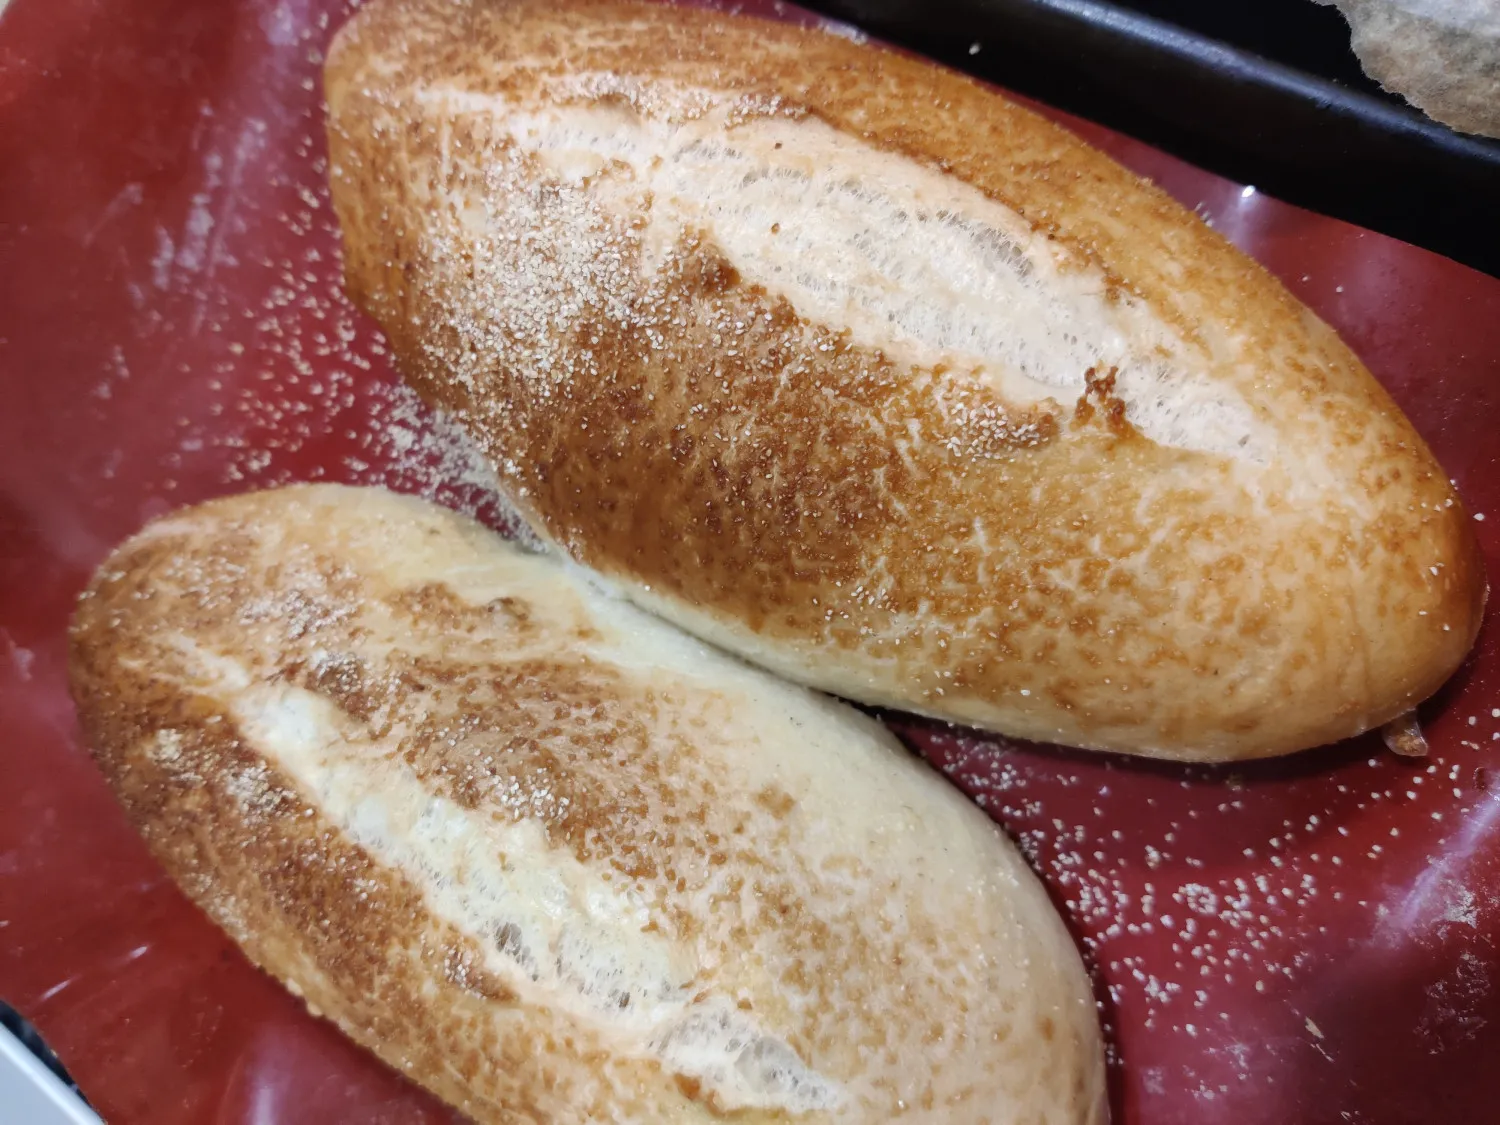
  • Bake in the preheated oven for 20-25 minutes, or until the pastry is golden and puffed, and the filling is cooked through.

5. Cool and Serve:

  • Remove from the oven and let the sausage rolls cool slightly on a wire rack.
  • Serve warm or at room temperature, perfect for snacking or as a party appetiser.
Tips!

Spice Level: If using nduja, be mindful of its spice level. Adjust the amount to your preference if you want a milder or spicier result.
Flavour Variations: You can add some grated cheese like manchego or cheddar to the filling for an extra layer of flavour.

Categories
Baking Recipe

Mini Pork Pies

These traditional mini pork pies are made with hot water crust pastry and a savoury pork filling. The rich, crumbly pastry paired with the tender pork makes them perfect for snacks, picnics, or a classic British lunch. For a twist, you can top them with Stilton cheese for extra flavour.

Ingredients

For the filling:

500g pork shoulder (minced)

1 small onion (finely diced)

1 tsp salt

1 tsp black pepper

1 tsp dried sage or thyme

1/2 tsp ground nutmeg

For the pastry:

300g plain flour

75g lard

75g butter

1 tsbp salt

120ml water

1 beaten egg (for glazing)

For the Jelly (optional):

200ml chicken or pork stock

2 gelatine leaves (or powdered gelatine)

Optional:

Stilton cheese (to top the pies)

Step-by-step Instructions

Step 1: Make the Pastry

  1. In a saucepan, combine the lard, butter, salt, and 120ml water. Heat gently until the fats have melted and the mixture comes to a simmer.
  2. In a large bowl, sift the flour and make a well in the centre. Pour the hot fat and water mixture into the flour.
  3. Mix with a wooden spoon until a rough dough forms. Turn it out onto a lightly floured surface and knead briefly until smooth.
  4. Cover the pastry in cling film and set aside while you prepare the filling.

Step 2: Prepare the Filling

  1. In a bowl, combine the pork, onion, salt, pepper, sage, and nutmeg. Mix thoroughly to combine.

Step 3: Shape the Pies

  1. Preheat your oven to 200°C (400°F) and lightly grease a muffin tin or individual pie moulds.
  2. Roll out the pastry on a floured surface to about 3-4mm thickness.
  3. Cut larger circles for the bases and smaller circles for the tops. The base circles should be big enough to cover the sides of the muffin tin wells.
  4. Press the larger circles into the prepared muffin tin, allowing the edges to overhang.
  5. Fill each pastry case with the pork filling, packing it in tightly.
  6. Place the smaller pastry circles on top and crimp the edges together to seal the pies. Make a small hole in the top of each pie to allow steam to escape during baking.

Step 4: Bake the Pies

  1. Brush the tops of the pies with the beaten egg for a glossy finish.
  2. If you’d like to add Stilton cheese, top each pie with a small amount of crumbled Stilton just before placing them in the oven.
  3. Bake in the preheated oven for 25-30 minutes, until the pastry is golden and the filling is cooked through. If you’re using a meat thermometer, the internal temperature should reach at least 75°C (165°F).

Step 5: (Optional) Add the Jelly

  1. While the pies are cooling, prepare the jelly. Heat the stock in a small saucepan and dissolve the gelatine according to package instructions.
  2. Once the pies are cool, pour the jelly mixture through the hole in the top of each pie. Let the pies set in the fridge for a few hours or overnight if using the jelly.
Tips!

Stilton Topping: For those who enjoy a stronger flavour, top with extra Stilton just before baking.

Classic Crimping: Use your fingers or a fork to crimp the edges for that classic pork pie look.

Categories
Baking Bread

Submarine Rolls Recipe

Submarine rolls, also known as hoagie or sub rolls, are perfect for hearty sandwiches with their soft interior and slightly crisp crust. This recipe will give you bakery-quality rolls, with the option to create a beautifully crisp crust by adding steam to your oven. Follow this simple method to create the ultimate sandwich roll at home.

Ingredients

350ml warm water

7g yeast (instant or active dry)

525g strong bread flour

7g salt

14g sugar

42g butter (softened)

Step-by-step Instructions
  1. Activate the Yeast:
    • If using active dry yeast, dissolve the yeast in the 350ml warm water with the 14g sugar. Let it sit for 5-10 minutes until it becomes frothy.
    • If using instant yeast, skip this step and add the yeast directly to the dry ingredients in the next step.
  2. Mix the Dry Ingredients:
    • In a large mixing bowl, combine the 525g bread flour and 7g salt.
    • If using instant yeast, add it to the flour and salt at this stage (including the sugar).
  3. Add the Wet Ingredients:
    • Add the 42g softened butter to the flour mixture. Rub the butter into the flour with your fingers until it’s fully incorporated.
    • If you activated the yeast, pour the yeast mixture into the flour. If using instant yeast, simply add the warm water at this point.
  4. Mix and Knead the Dough:
    • Stir the mixture together until it forms a rough dough.
    • Transfer the dough to a lightly floured surface and knead for 8-10 minutes until smooth and elastic. The dough should be soft but not sticky. If it’s too sticky, sprinkle a little more flour as you knead.
    • Alternatively, you can knead the dough in a stand mixer with a dough hook for about 5-6 minutes.
  5. First Rise:
    • Place the dough in a lightly oiled bowl, cover it with plastic wrap or a damp kitchen towel, and let it rise in a warm place for 1 to 1.5 hours, or until doubled in size.
  6. Shape the Rolls:
    • Once the dough has risen, punch it down to release the air. Divide the dough into 6-8 equal portions depending on how large you want your rolls.
    • Roll each portion into an oval or long cylinder shape, about 6-8 inches long.
    • Place the shaped rolls on a baking tray lined with parchment paper, leaving space between each one.
  7. Second Rise:
    • Cover the rolls with a damp towel or lightly oiled plastic wrap and let them rise again for about 30-45 minutes until they have puffed up slightly.
  8. Preheat the Oven:
    • Preheat your oven to 220°C (425°F).
    • Place an empty tray at the bottom of the oven, as this will be used to create steam for a crisper crust.
  9. Bake the Rolls:
    • Before placing the rolls in the oven, pour about 100ml of water into the empty tray at the bottom of the oven. The steam will help the rolls develop a beautiful crust.
    • Bake the rolls in the preheated oven for 15-20 minutes, or until golden brown and cooked through. They should sound hollow when tapped on the bottom.
  10. Cool and Serve:
  • Transfer the rolls to a wire rack to cool completely. Once cooled, they are perfect for slicing and making your favourite submarine sandwiches. The steam will give them a lovely crust, while the interior remains soft and fluffy.
Tips!

For an even shinier crust, brush the tops of the rolls with water or melted butter before baking. If you like seeds on your rolls, sprinkle sesame or poppy seeds on top before baking for added flavour and texture.

Categories
Baking Cookies

Chunky NYC-Style Cookies

These chunky NYC-style cookies are thick, gooey, and loaded with chocolate. With a crisp exterior and a soft, melty centre, these cookies are everything a cookie lover dreams of. They’re packed with chocolate chunks, and you can customise them further by adding nuts if you like. Perfect for when you want a bakery-quality cookie at home!

Ingredients

190g butter (softened)

260g sugar (a mix of white and brown)

2 small eggs

1 tbsp vanilla extract

450g plain flour

2 tsp baking powder (about 8g)

1/2 tsp bicarbonate of soda (about 3g)

200g (or more!) chocolate chunks (dark, milk, white, or a mix)

Optional: 100g chopped nuts (peanuts, pecans, walnuts, or hazelnuts)

Step-by-step instructions
  1. Cream the Butter and Sugars:
    1. In a large bowl, cream together the 190g softened butter and 260g sugar (a mix of white and brown) until light and fluffy. This can take about 3-5 minutes using an electric mixer. The combination of white and brown sugar gives these cookies their chewy texture and golden colour.
  2. Add the Eggs and Vanilla:
    1. Beat in the 2 small eggs one at a time, ensuring each is fully incorporated before adding the next.
    2. Mix in the 1 tbsp vanilla extract until well combined.
  3. Mix the Dry Ingredients:
    1. In a separate bowl, whisk together 450g plain flour, 2 tsp baking powder (8g), and 1/2 tsp bicarbonate of soda (3g).
    2. Gradually add the dry ingredients to the wet mixture, mixing until just combined. Don’t overmix, as this can make the cookies tough.
  4. Add the Chocolate (and Nuts, if using):
    1. Fold in at least 200g of chocolate chunks. You can use dark, milk, or a combination, and if you love chocolate, feel free to add more! The chocolate chunks will give you those signature gooey pockets of melted chocolate.
    2. If you’re using nuts, fold in 100g of chopped nuts at this point. Pecans, walnuts, or hazelnuts work particularly well.
  5. Chill the Dough:
    1. For the best results, chill the dough for at least 30 minutes in the fridge. This helps the cookies hold their shape and develop a richer flavour. If you have the time, chilling for a few hours or overnight is even better.
  6. Preheat the Oven:
    1. Preheat your oven to 180°C (350°F) and line a baking tray with parchment paper.
  7. Shape the Cookies:
    1. Scoop large balls of dough (about 80-100g each to get that classic NYC chunkiness) and place them on the prepared baking tray. Leave enough space between each cookie, as they will spread slightly during baking.
  8. Bake the Cookies:
    1. Bake the cookies for 12-15 minutes. You want them to be golden brown around the edges but still slightly undercooked in the centre. They will continue to cook as they cool, leaving you with a soft, gooey middle.
  9. Cool and Serve:
    1. Let the cookies cool on the baking tray for about 10 minutes before transferring them to a wire rack to cool completely.
    2. These cookies are best enjoyed warm when the chocolate is still gooey, but they’ll keep in an airtight container for several days.
Tips!

For extra gooey cookies, press a few extra chocolate chunks into the top of the cookie dough balls just before baking. If you love a salty-sweet contrast, sprinkle a little flakey sea salt (just a tiny amount) on top right before they go into the oven.

Categories
Baking Bread Recipe

Bagels

Bagels are a chewy, golden-brown delight that you can easily bake at home. With just a few simple ingredients, you’ll have fresh bagels perfect for breakfast, sandwiches, or a snack.

For an interesting twist, consider using discarded pasta or potato water instead of regular water. The starches in the water add structure to the dough, resulting in an even chewier bagel.

Ingredients

500g strong bread flour

40g brown sugar

7g salt

7g yeast (instant or active dry)

300ml warm water (optional: use discarded pasta or potato water for added starch)

Step-by-step instructions
  1. Activate the Yeast:
    1. If using active dry yeast, mix the yeast with a small portion of the warm water (around 50ml) and a pinch of the brown sugar. Let it sit for about 5-10 minutes until frothy.
    2. If using instant yeast, skip this activation step and add the yeast directly to the dry ingredients.
  2. Mix the Dry Ingredients:
    1. In a large bowl, combine 500g bread flour, 40g brown sugar, and 7g salt. If using instant yeast, add it at this stage.
  3. Add the Wet Ingredients:
    1. Pour in 300ml of warm water or, for an added benefit, use warm pasta or potato water. The starch in the discarded water helps improve the dough’s texture, making the bagels extra chewy with a soft interior.
    2. Stir until the mixture starts to form a rough dough.
  4. Knead the Dough:
    1. Turn the dough onto a lightly floured surface and knead for 8-10 minutes until smooth and elastic. It should feel slightly tacky but not sticky.
    2. Alternatively, use a stand mixer with a dough hook to knead the dough for 5-6 minutes.
  5. First Rise:
    1. Place the dough in a lightly oiled bowl, cover with a damp kitchen towel or plastic wrap, and let it rise for 1 to 1.5 hours or until doubled in size.
  6. Shape the Bagels:
    1. After the dough has risen, punch it down and divide it into 8 equal pieces.
    2. Roll each piece into a ball, then poke a hole in the centre with your finger. Stretch the hole to about 2 inches in diameter, as it will shrink slightly during boiling.
  7. Boil the Bagels:
    1. Bring a large pot of water to a boil, then reduce to a simmer. Gently lower 2-3 bagels into the water at a time, boiling for 1-2 minutes on each side. The longer they boil, the chewier they will be.
    2. Transfer boiled bagels to a parchment-lined baking tray.
  8. Bake the Bagels:
    1. Preheat the oven to 220°C (425°F).
    2. Bake for 20-25 minutes, or until the bagels turn golden brown.
  9. Cool and Serve:
    1. Allow the bagels to cool on a wire rack. They’re best served fresh or toasted with your favourite toppings.
Why Use Pasta or Potato Water?

Using pasta or potato water in place of regular water introduces extra starch into the dough. This added starch helps develop a chewier texture in the finished bagels, giving them a slightly softer interior and a more satisfying bite. It’s a great way to repurpose water you’d normally discard and adds an extra layer of flavour to your dough.

Tips!

For variety, brush the boiled bagels with water or egg wash and sprinkle toppings like sesame seeds, poppy seeds, or coarse salt just before baking.

Categories
Baking Bread

White Bloomer

Ingredients

500g strong white bread flour

10g salt

7g instant yeast (or dry active yeast)

320g/320ml room temperature water

40ml (26g) olive oil, sunflower oil, or unsalted butter (melted)

Utensils

Large mixing bowl

Kitchen scale

Wooden spoon or dough scraper

Clean kitchen towel or plastic wrap

Baking tray

Parchment paper

Sharp knife or bread lame

Cooling rack

Step-by-step Instructions

1. Activate the Yeast (Skip to Step 2 if Using Instant Yeast):

  • If you’re using dry active yeast, dissolve 7g dry active yeast in about 50ml of the 320ml water (slightly warm, around 38°C/100°F) and a pinch of sugar. Let it sit for 5-10 minutes until it becomes frothy and bubbly.
  • If you’re using instant yeast, there’s no need to activate it separately. Simply skip to step 2.

2. Mix the Dry Ingredients:

  • In a large mixing bowl, combine 500g strong white bread flour and 10g salt. If using instant yeast, add it to the flour at this point. Be sure to keep the salt and yeast on opposite sides of the bowl until mixed, as salt can inhibit yeast activity if it comes into direct contact.

3. Add the Wet Ingredients:

  • If using dry active yeast, pour the frothy yeast mixture into the flour mixture, along with the remaining 270ml water.
  • If using instant yeast, pour the full 320ml water directly into the flour mixture.
  • Add 40ml (26g) olive oil, sunflower oil, or melted butter.

4. Mix and Knead the Dough:

  • Stir the ingredients together using a wooden spoon or your hands until the dough begins to come together.
  • Transfer the dough to a lightly floured surface and knead for 10-12 minutes until the dough is smooth, elastic, and slightly tacky. If the dough is too sticky, sprinkle a little extra flour, but avoid adding too much as it can make the bread dense.

5. First Rise (Bulk Fermentation):

  • Place the dough in a lightly oiled bowl, cover with a clean towel or plastic wrap, and let it rise in a warm, draft-free spot for 1 to 1.5 hours, or until the dough has doubled in size.

6. Shape the Loaf:

  • Once the dough has risen, punch it down to release the gas. Transfer it to a lightly floured surface and gently shape it into an oval or loaf shape, tucking the edges underneath to create a smooth top.
  • Place the shaped loaf onto a parchment-lined baking tray.

7. Second Rise (Proofing):

  • Cover the shaped loaf with a clean towel or plastic wrap and let it rise again for 30-45 minutes, until it puffs up slightly.

8. Preheat the Oven:

  • Preheat your oven to 220°C (425°F). Place an empty tray or baking dish on the bottom rack to fill with water later, which will create steam.

9. Score the Loaf:

  • Once the loaf has risen, use a sharp knife or bread lame to make a few diagonal slashes across the top of the dough. This helps the bread expand properly while baking.

10. Bake:

  • Right before placing the loaf in the oven, pour about 100ml water into the empty tray at the bottom of the oven to create steam.
  • Bake the bread at 220°C (425°F) for the first 10 minutes, then reduce the oven temperature to 200°C (400°F) and bake for another 20-25 minutes.
  • The bread is done when the crust is golden and it sounds hollow when tapped on the bottom.

11. Cool the Bread:

  • Once baked, transfer the loaf to a cooling rack and allow it to cool completely before slicing.
Tips!
  • Kneading: Proper kneading ensures a good texture. If you prefer, use a stand mixer with a dough hook for about 8 minutes.
  • Creating Steam: Steam helps develop a crispy crust. If you don’t have a tray for water, you can spray the oven walls with water just before baking.
  • Storage: Store the bread in a bread bag or airtight container at room temperature for up to 3 days, or freeze for up to a month.
Categories
Baking Brownies

Beetroot Brownies

Ingredients

150g grated beetroot

100g dark cholocate (roughly chopped)

50g butter

125g caster sugar

2 medium eggs

50g self raising flour

20g cocoa powder

Utensils

Grater or food processor

Medium saucepan

Mixing bowls

Wooden spoon or whisk

Baking tray (about 8x8 inch)

Parchment paper

Spatula

Step-by-step instructions
  1. Prepare the Beetroot:
    1. Start by peeling and finely grating 150g raw beetroot. You can use a food processor to speed up this process, or grate it manually using the fine side of a box grater. Set the grated beetroot aside.
  2. Preheat the Oven:
    1. Preheat your oven to 180°C (350°F). Line an 8×8 inch baking tray (or similar size) with parchment paper. This will make it easier to remove the brownies after baking.
  3. Melt the Chocolate and Butter:
    1. In a medium saucepan, melt the 100g dark chocolate and 50g butter over low heat, stirring occasionally until smooth. Once melted, remove the pan from heat and let the mixture cool slightly.
  4. Mix the Wet Ingredients:
    1. In a large bowl, whisk together the 2 eggs and 125g sugar until the mixture becomes slightly pale and fluffy. This step helps give the brownies a nice light texture.
    2. Gradually stir in the melted chocolate and butter mixture. Mix well until everything is combined.
  5. Add the Dry Ingredients:
    1. Sift the 50g self-raising flour and 20g cocoa powder into the chocolate mixture. Gently fold the dry ingredients into the wet mixture using a spatula or wooden spoon. Try not to overmix at this stage to keep the brownies tender.
  6. Incorporate the Beetroot:
    1. Add the grated beetroot to the brownie batter and fold it in until evenly distributed. The beetroot adds moisture and a subtle earthy sweetness, enhancing the texture without overpowering the chocolate flavour.
  7. Pour into the Baking Tray:
    1. Pour the brownie batter into the lined baking tray, spreading it out evenly with a spatula.
  8. Bake:
    1. Place the tray in the preheated oven and bake for 20-25 minutes. The brownies are done when the edges are set and a toothpick inserted into the centre comes out with a few moist crumbs (but not raw batter).
    2. Avoid overbaking, as you want the brownies to remain fudgey in the centre.
  9. Cool and Serve:
    1. Once baked, remove the tray from the oven and allow the brownies to cool in the tray for about 10-15 minutes.
    2. Carefully lift the brownies out using the parchment paper and transfer them to a wire rack to cool completely.
    3. Once cooled, cut into squares and enjoy!
Tips!
  • Grating the Beetroot: Use the finest side of your grater for a smooth texture, or a food processor for ease.
  • Chocolate Quality: Use high-quality dark chocolate for the best flavour. Around 70% cocoa solids is ideal.
  • Optional Add-ins: You can fold in some chopped nuts, chocolate chips, or a teaspoon of vanilla extract for extra flavour and texture.
  • Storage: Store these brownies in an airtight container at room temperature for up to 3 days or in the fridge for up to a week. They also freeze well!
Categories
Baking Cookies

Peanut Butter Cookies

Ingredients

1 large egg

250g white/brown sugar (mixture if possible)

240g peanut butter

1 tsp baking soda

100g dark chocolate (roughly chopped)

Utensils

Large mixing bowl

Wooden spoon or electric mixer

Baking sheet

Parchment paper

Cooling rack

Spatula

Measuring spoons

Method
  1. Preheat the Oven: Preheat your oven to 180°C (350°F). Line your baking sheet with parchment paper or lightly grease it to prevent sticking.
  2. Prepare Your Ingredients:
    1. Crack the egg into a small bowl and whisk it lightly with a fork.
    2. Measure out your sugar. If you’re using a mix of white and brown, aim for half and half (125g of each) for a balanced sweetness and texture.
    3. Have your peanut butter ready, ensuring it’s at room temperature for easier mixing.
    4. Roughly chop your dark chocolate into small chunks, so they distribute evenly through the cookies.
  3. Mix the Wet Ingredients: In a large mixing bowl, combine the peanut butter, egg, and sugar. If you’re using an electric mixer, set it to a medium speed. Mix until the ingredients are well incorporated, and the mixture becomes smooth and slightly fluffy (about 2-3 minutes).
  4. Add the Baking Soda: Sprinkle the baking soda evenly over the peanut butter mixture. Mix it in well to ensure an even distribution throughout the dough. The baking soda helps the cookies rise and ensures they have a tender texture.
  5. Fold in the Chocolate: Gently fold in the chopped dark chocolate using a spatula. Make sure the chocolate is distributed evenly throughout the dough for a balanced chocolate-to-cookie ratio in every bite.
  6. Shape the Cookies: Using your hands or a spoon, scoop out small portions of dough (about the size of a tablespoon). Roll each portion into a ball and place it on the prepared baking sheet. Space the cookies about 2 inches apart, as they will spread slightly during baking.
  7. Flatten the Cookies: Use a fork to gently press down on each cookie ball, creating a crosshatch pattern on top. This helps flatten the cookies and gives them that classic peanut butter cookie look. If the dough sticks to the fork, dip the fork in a little sugar between presses.
  8. Bake: Place the baking sheet in the preheated oven and bake the cookies for 10-12 minutes. Keep an eye on them, as they should be golden brown around the edges but still slightly soft in the center. They’ll firm up as they cool.
  9. Cool the Cookies: Once baked, remove the cookies from the oven. Let them rest on the baking sheet for about 5 minutes to set before transferring them to a cooling rack using a spatula. Allow them to cool completely (if you can wait that long!).
  10. Serve: These peanut butter cookies are best enjoyed once cooled, when the chocolate is still slightly melty. Store any leftovers in an airtight container to keep them fresh for up to 5 days.
Categories
Baking Bread Recipe

Milk Buns

Ingredients

500g Strong Bread Flour

50g Granulated Sugar

265g Milk (Whole Milk Preferred)

10g Active Dried Yeast

2 Eggs

10g Salt

90g Softened Butter

1 egg yolk (optional)

Method
  1. In a large mixing bowl add the flour and sugar
  2. In a jug mix; the milk, yeast, one egg (the second egg is for an egg wash before baking), and one egg yolk (optional). Mix throughly
  3. Pour the wet ingredients into the large mixing and combine with a fork
  4. Once the mixture is combined, remove from the bowl onto a lightly floured surface and knead for around five minutes
  5. Add back the dough back into the mixing bowl, add the salt and incorporate the butter (in two batches). This can get very messy, and you may need to add a tiny extra flour to help with incorporating, or you use a stand mixer for ease
  6. Once the butter is incorporated you should have a nice smooth elastic dough
  7. Remove the dough from the bowl and add to a well oiled container and place in the fridge for 2-3 hours
  8. Take the dough from the fridge and shape into eight even shaped buns (these will be about 50% smaller than the finished product)
  9. Place evenly spaced out on lined baking trays and cover for around 2 hours or until doubled in size
  10. Crack and whisk the remaining egg and apply egg wash generously to the buns
  11. Bake in the oven at 160C for around 14 minutes until golden brown
Categories
Baking Bread Fermented Recipe Sourdough

Sourdough Bloomer

Ingredients

90g Leaven

450g Water

85g Brown/Wholemeal bread flour

500g Strong white bread flour

12g Salt

Method

Add the leaven to a bowl.

Add water to the mixture – lukewarm temperature would be best as this helps the starter feed and carbonate.

Mix the thoroughly, until there are no lumps

Add 85g of brown or wholemeal flour

Add 500g of strong white bread flour

Mix by hand until the ingredients form a ‘shaggy’ mass.

The mixture may be tough to mix and stick to your hand/fingers. But try not to add any excess water and flour as this will compromise the overall quality of the bread once baked.

Cover with a cloth/tea towel for 30 minutes. This allow the flour to absorb moisture before adding the salt

After sitting for 30 mins the mixture should look something like the following:

Add 12g of salt – Make sure to weigh your salt as different salt can have different density and therefore spoon measurements cannot accurately be used.

Mix thoroughly (3-4 minutes) and the dough should have become slightly less sticky, and much more stretchy.

Mix thoroughly (3 minutes) dough will be slightly less sticky and much more stretchy. (Should have less excess stuck to fingers)

Cover again and leave for 30-45 minutes (depending on temperature in the area you leave your dough – the warmer it is the less time you will require. This is the start of your bulk fermentation.

After the 30 – 45 minutes are up must perform your first stretch and fold.

This process is done instead of kneading and the goal is to have bubbles across the surface, but you may start to see this already.

First, wet your hands and put them underneath the dough, stretching upwards and folding over the dough. Turn the bowl and continue this until you have folded all the dough.

Caption

Re-cover with tea towel and place in ‘warm spot’ for another 30-45 mins.

After the timed has passed, you need to perform another stretch fold (you will need to repeat this around 4 – 6 times).

Each time you should start to notice that the mixture is gaining more bubbles across the surface.

After each stretch and fold, be sure to re-cover and place in your spot for another 30-45 minutes.

After around the third or fourth stretch and fold you should start to see bigger bubbles forming on the surface of your dough, and the dough will have increased in size due to its inflation. See below.

One more stretch and fold is required and then we are ready to shape.

Once ready to shape, you want to start by flouring a surface to work the dough on, and place the dough on top.