Submarine rolls, also known as hoagie or sub rolls, are perfect for hearty sandwiches with their soft interior and slightly crisp crust. This recipe will give you bakery-quality rolls, with the option to create a beautifully crisp crust by adding steam to your oven. Follow this simple method to create the ultimate sandwich roll at home.
Ingredients
350ml warm water
7g yeast (instant or active dry)
525g strong bread flour
7g salt
14g sugar
42g butter (softened)
Step-by-step Instructions
- Activate the Yeast:
- If using active dry yeast, dissolve the yeast in the 350ml warm water with the 14g sugar. Let it sit for 5-10 minutes until it becomes frothy.
- If using instant yeast, skip this step and add the yeast directly to the dry ingredients in the next step.
- Mix the Dry Ingredients:
- In a large mixing bowl, combine the 525g bread flour and 7g salt.
- If using instant yeast, add it to the flour and salt at this stage (including the sugar).
- Add the Wet Ingredients:
- Add the 42g softened butter to the flour mixture. Rub the butter into the flour with your fingers until it’s fully incorporated.
- If you activated the yeast, pour the yeast mixture into the flour. If using instant yeast, simply add the warm water at this point.
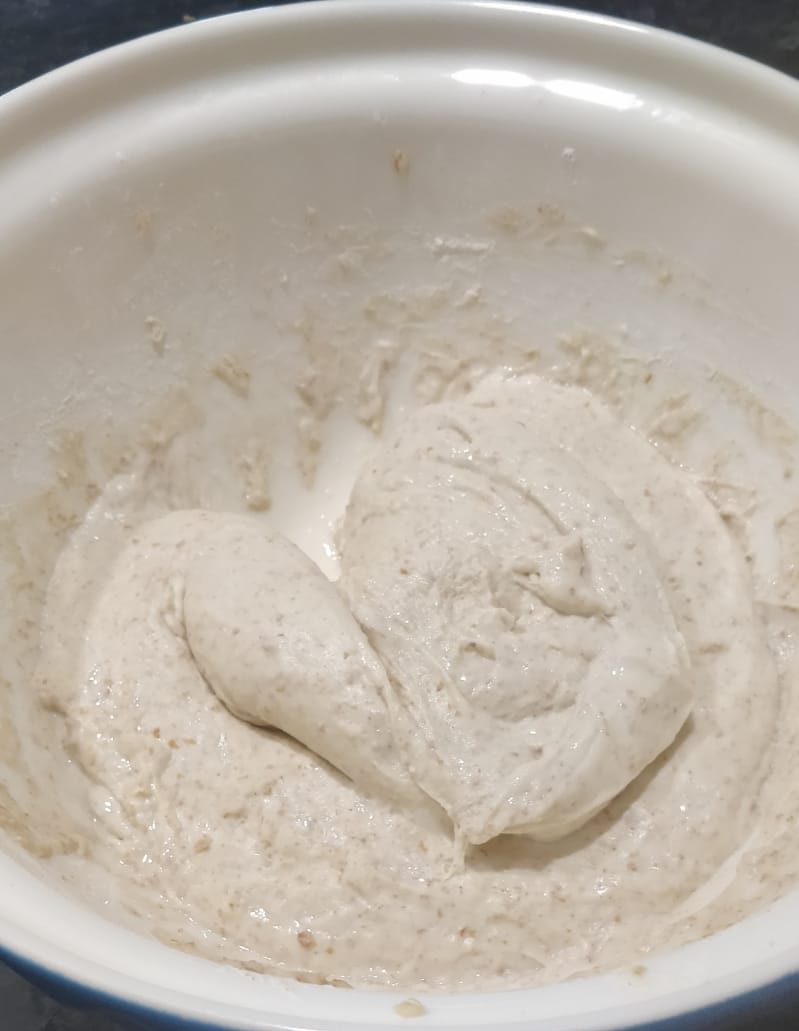
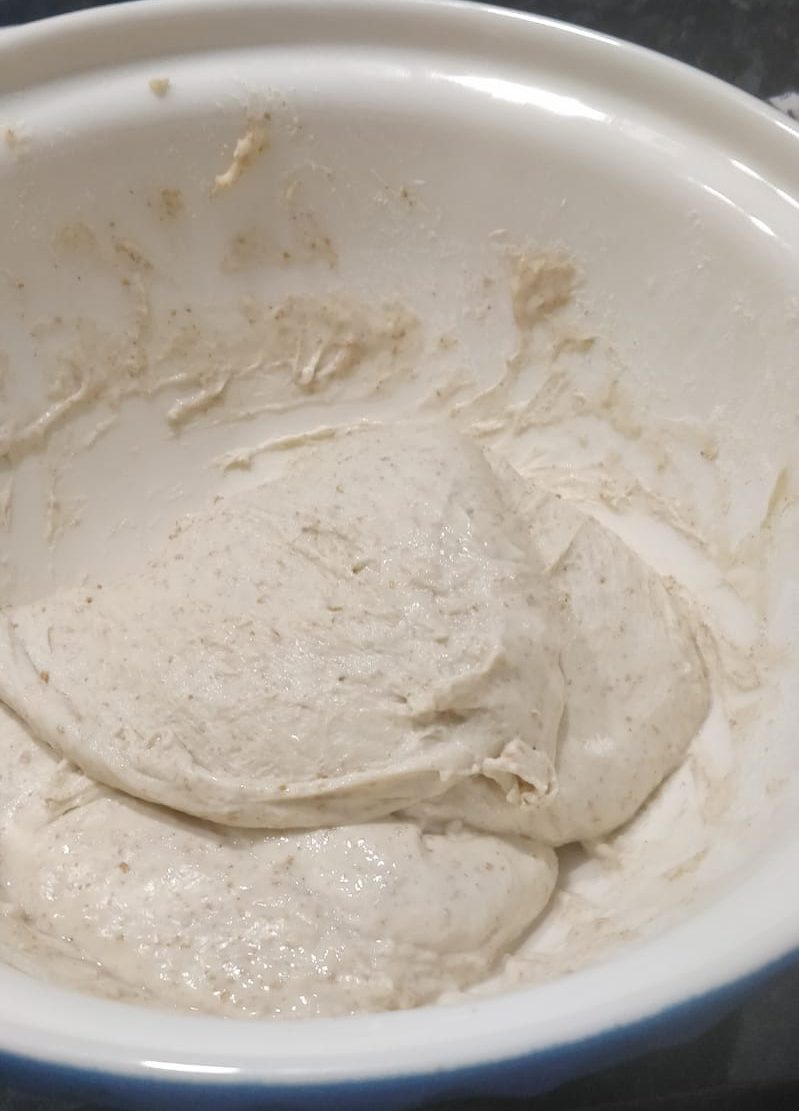
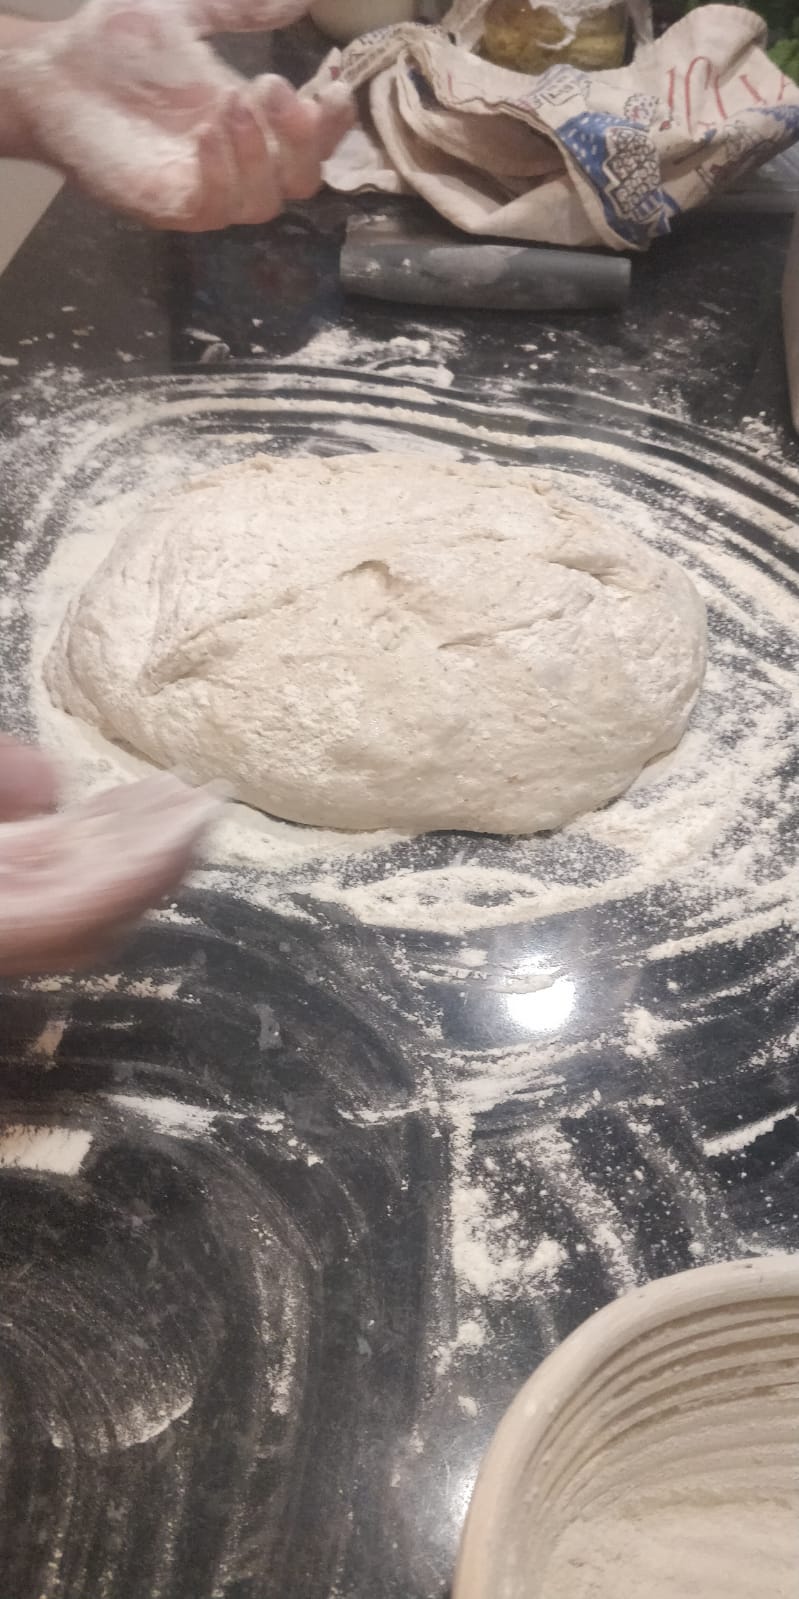
- Mix and Knead the Dough:
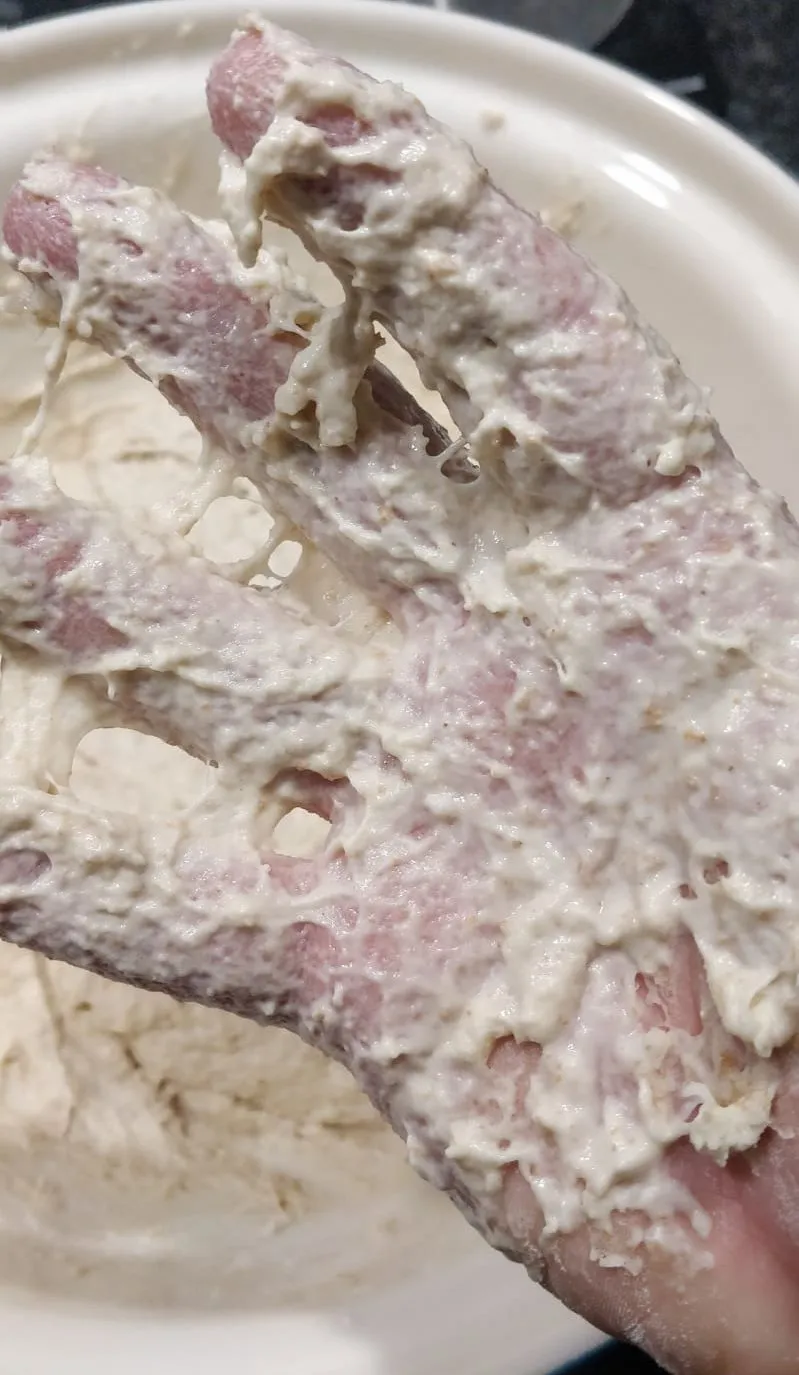
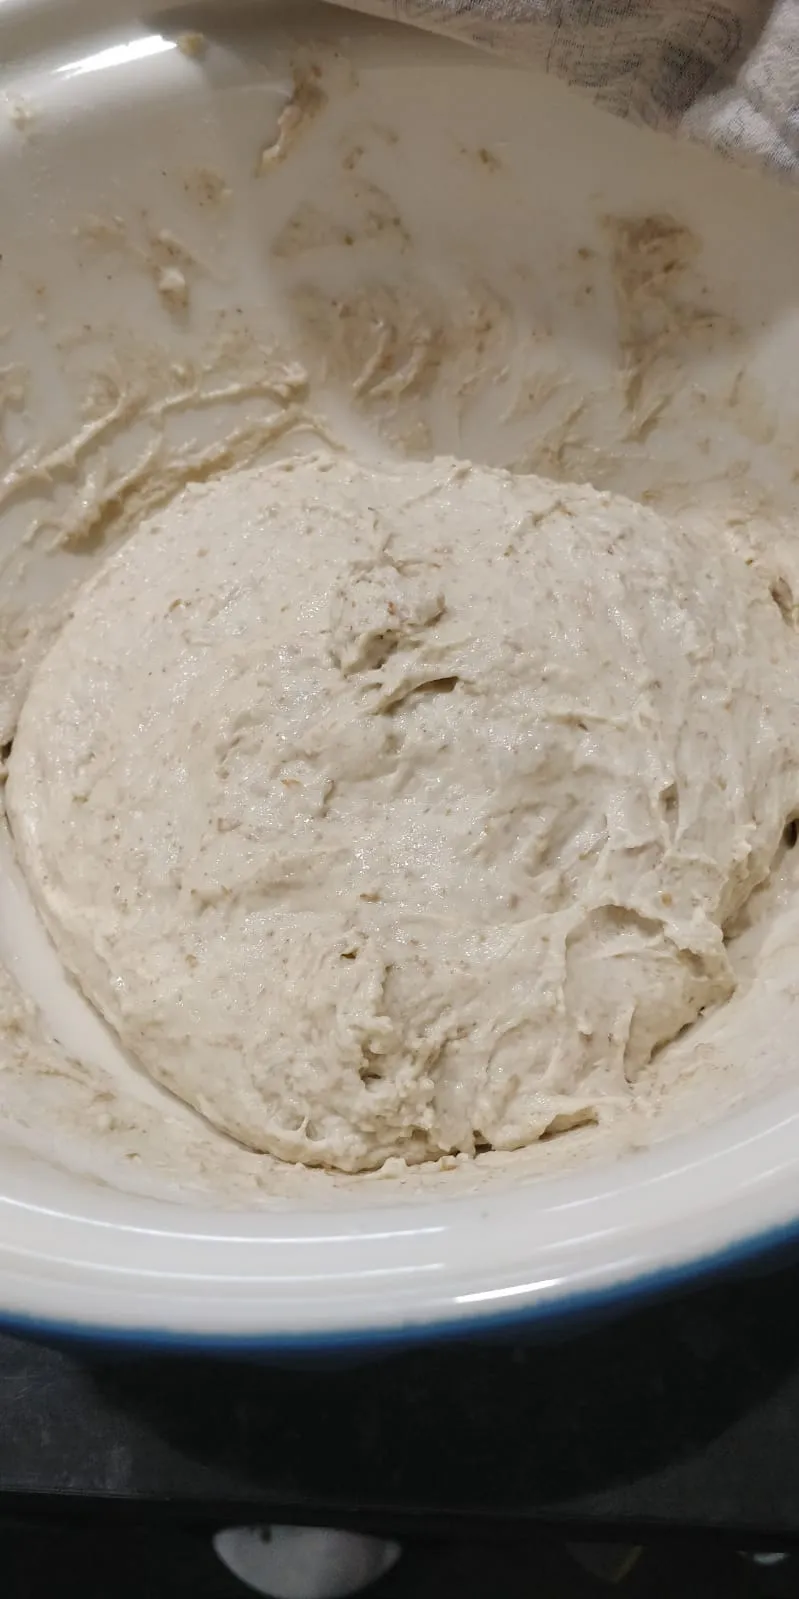
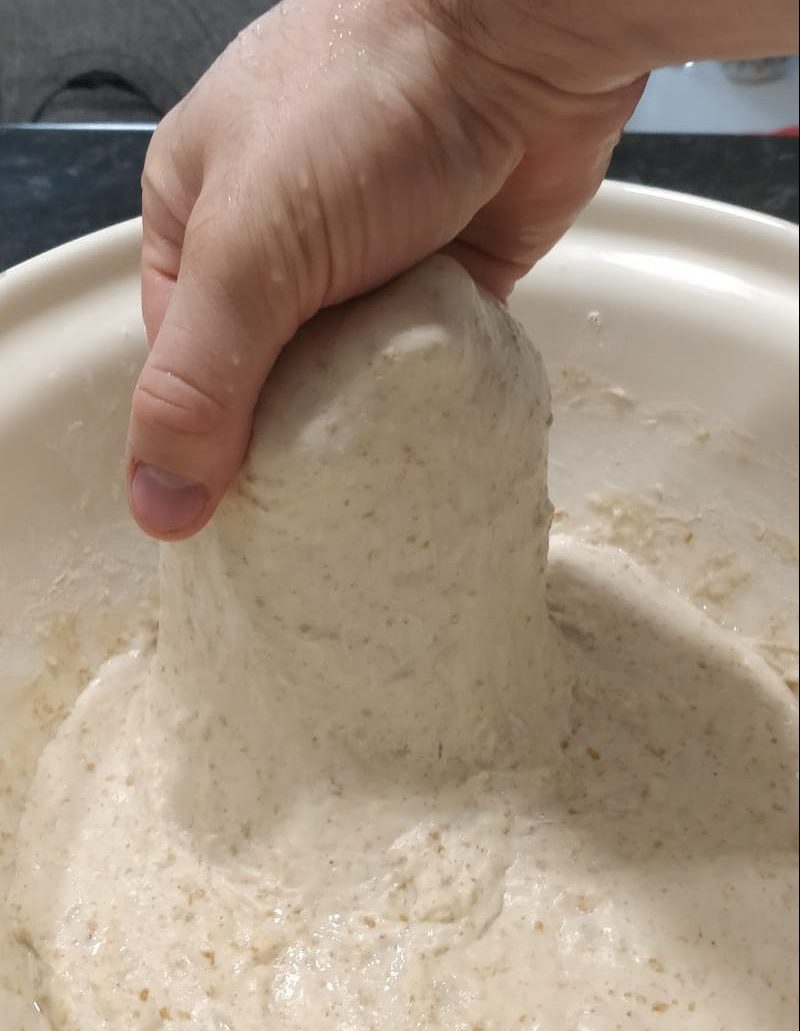
- Stir the mixture together until it forms a rough dough.
- Transfer the dough to a lightly floured surface and knead for 8-10 minutes until smooth and elastic. The dough should be soft but not sticky. If it’s too sticky, sprinkle a little more flour as you knead.
- Alternatively, you can knead the dough in a stand mixer with a dough hook for about 5-6 minutes.
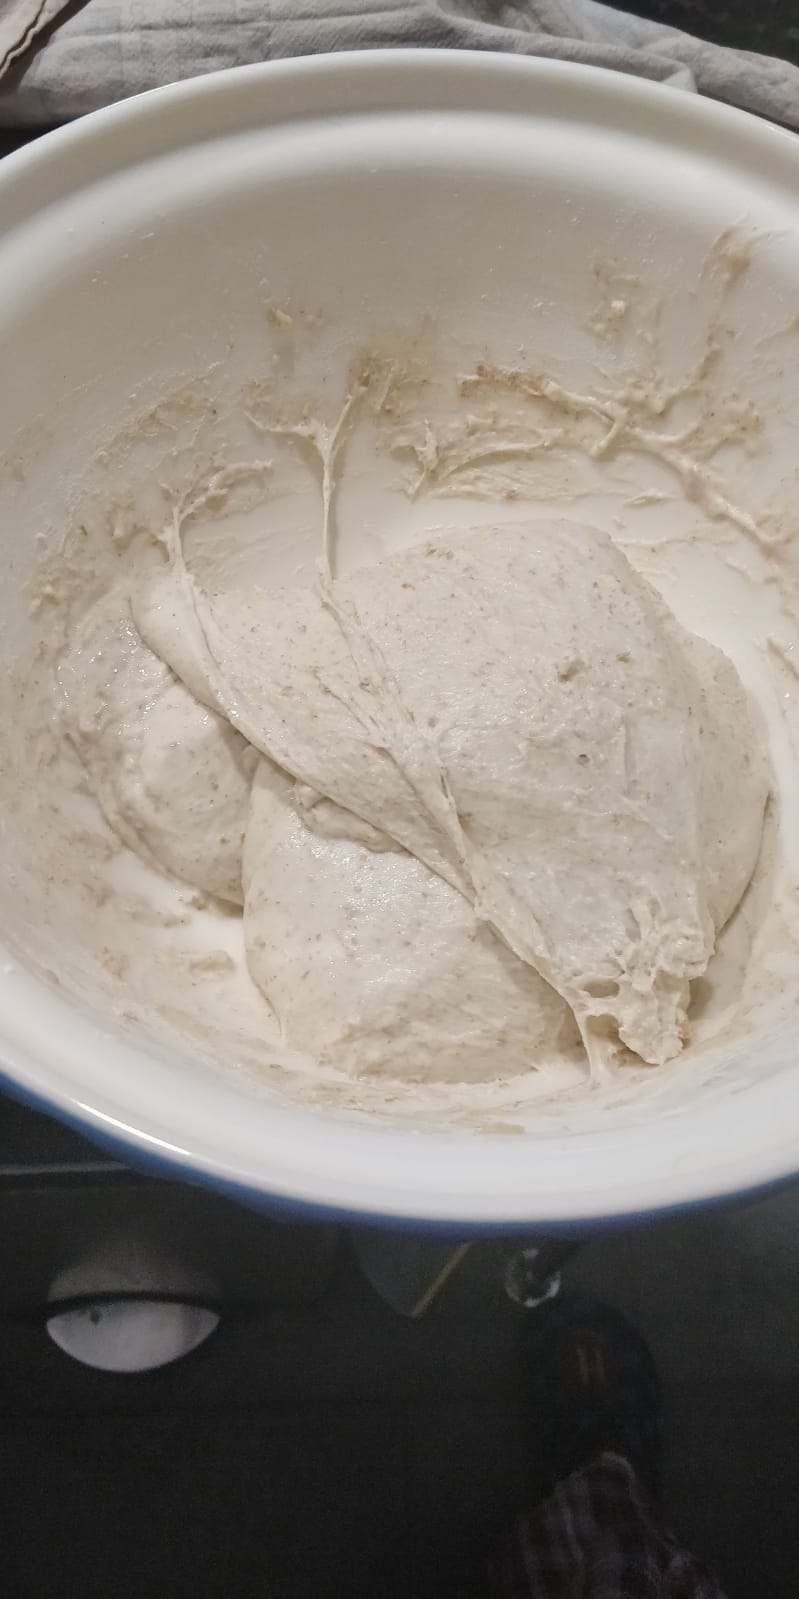
- First Rise:
- Place the dough in a lightly oiled bowl, cover it with plastic wrap or a damp kitchen towel, and let it rise in a warm place for 1 to 1.5 hours, or until doubled in size.
- Shape the Rolls:
- Once the dough has risen, punch it down to release the air. Divide the dough into 6-8 equal portions depending on how large you want your rolls.
- Roll each portion into an oval or long cylinder shape, about 6-8 inches long.
- Place the shaped rolls on a baking tray lined with parchment paper, leaving space between each one.
- Second Rise:
- Cover the rolls with a damp towel or lightly oiled plastic wrap and let them rise again for about 30-45 minutes until they have puffed up slightly.
- Preheat the Oven:
- Preheat your oven to 220°C (425°F).
- Place an empty tray at the bottom of the oven, as this will be used to create steam for a crisper crust.
- Bake the Rolls:
- Before placing the rolls in the oven, pour about 100ml of water into the empty tray at the bottom of the oven. The steam will help the rolls develop a beautiful crust.
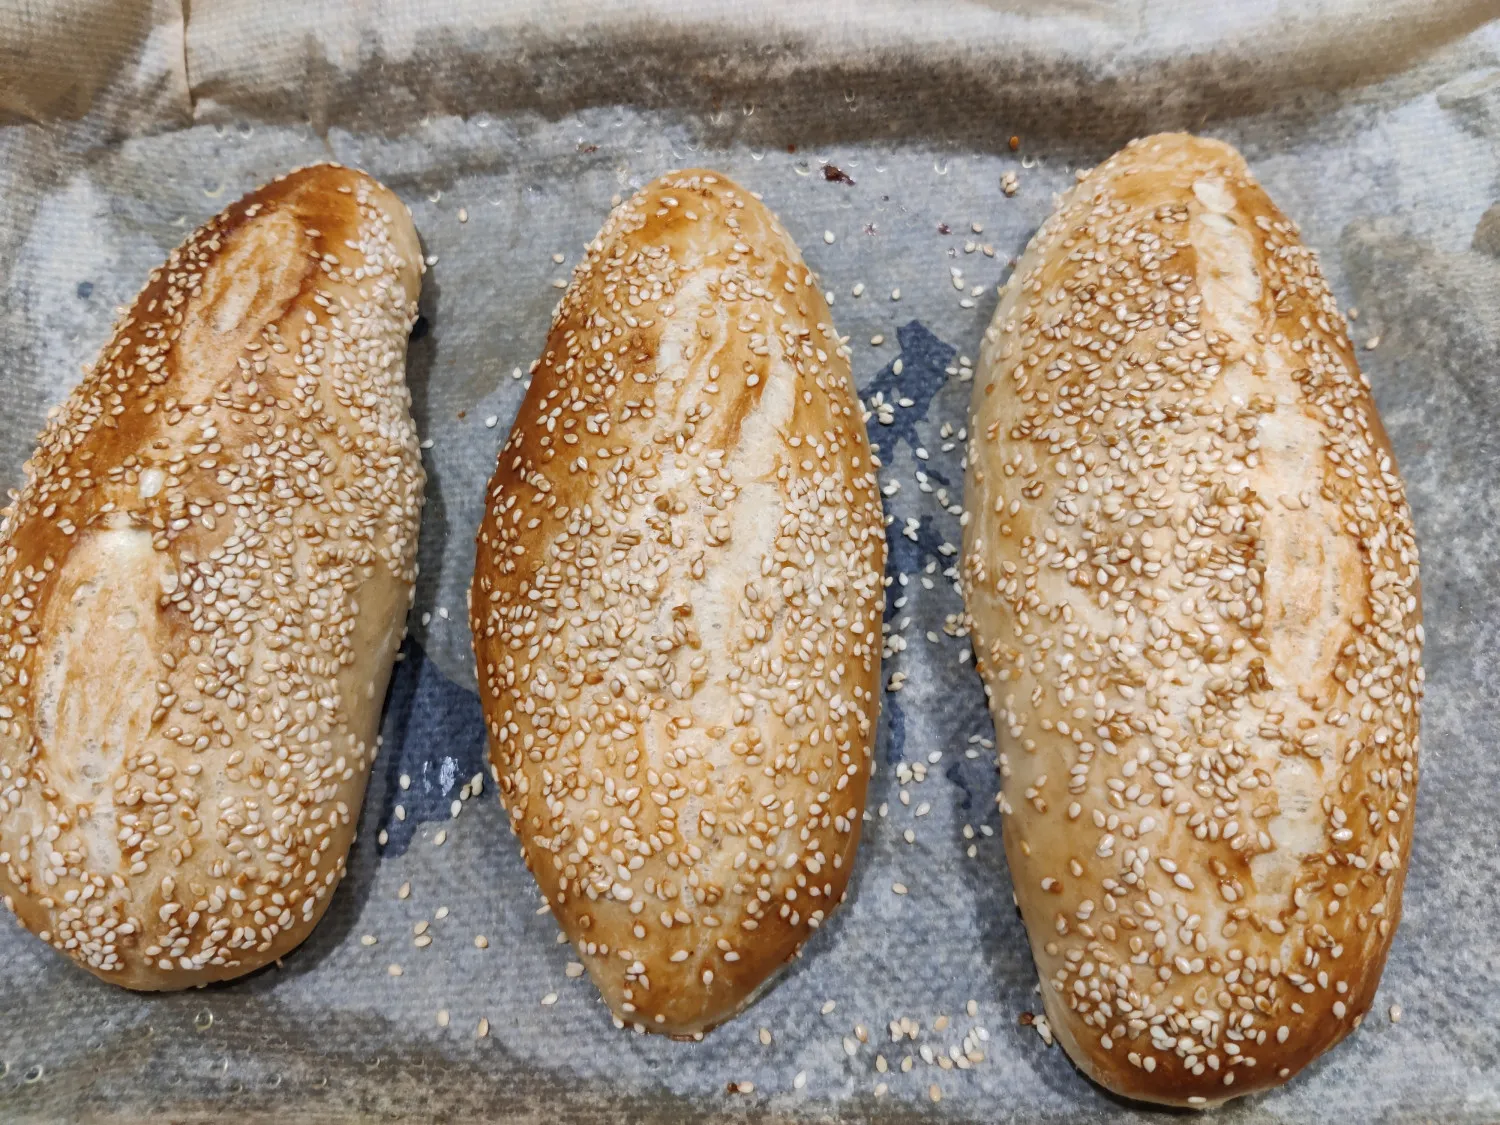
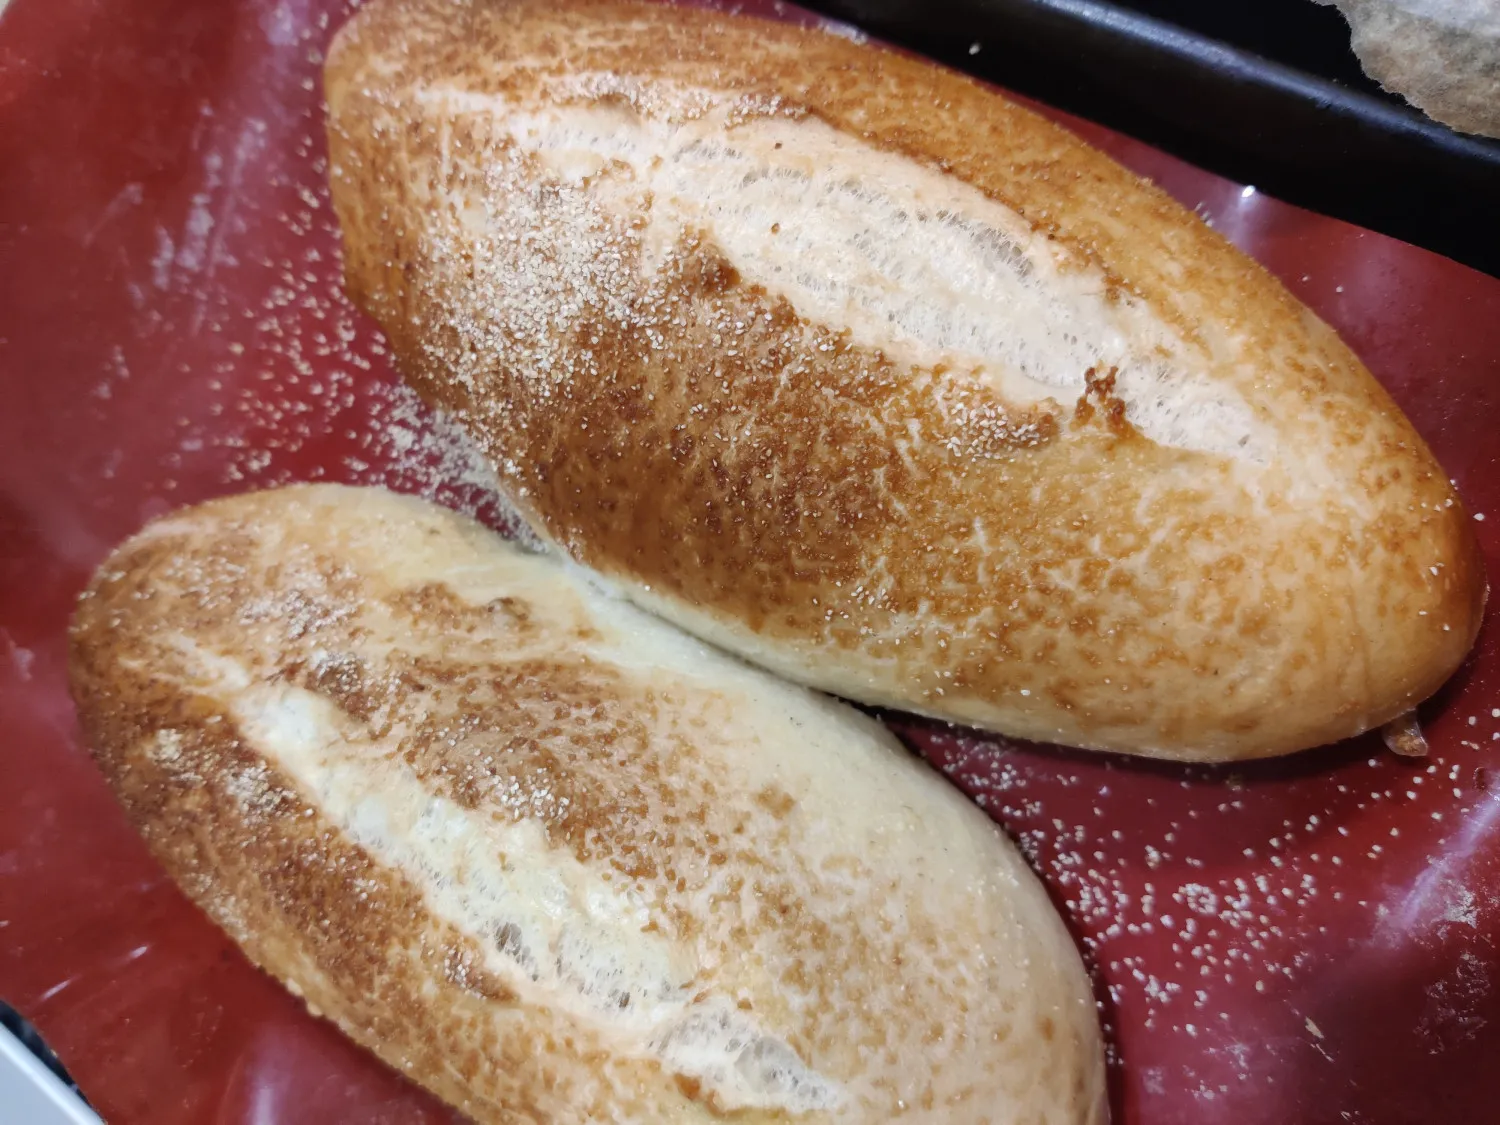
- Bake the rolls in the preheated oven for 15-20 minutes, or until golden brown and cooked through. They should sound hollow when tapped on the bottom.
- Cool and Serve:
- Transfer the rolls to a wire rack to cool completely. Once cooled, they are perfect for slicing and making your favourite submarine sandwiches. The steam will give them a lovely crust, while the interior remains soft and fluffy.
Tips!
For an even shinier crust, brush the tops of the rolls with water or melted butter before baking. If you like seeds on your rolls, sprinkle sesame or poppy seeds on top before baking for added flavour and texture.


 Caption